Choosing bathroom tile sets the tone for style, durability, and maintenance in one of the home’s most-used spaces. This guide dives into materials, layouts, and care, so you can design a bathroom that stays beautiful and functional for years.
Understanding bathroom tile materials
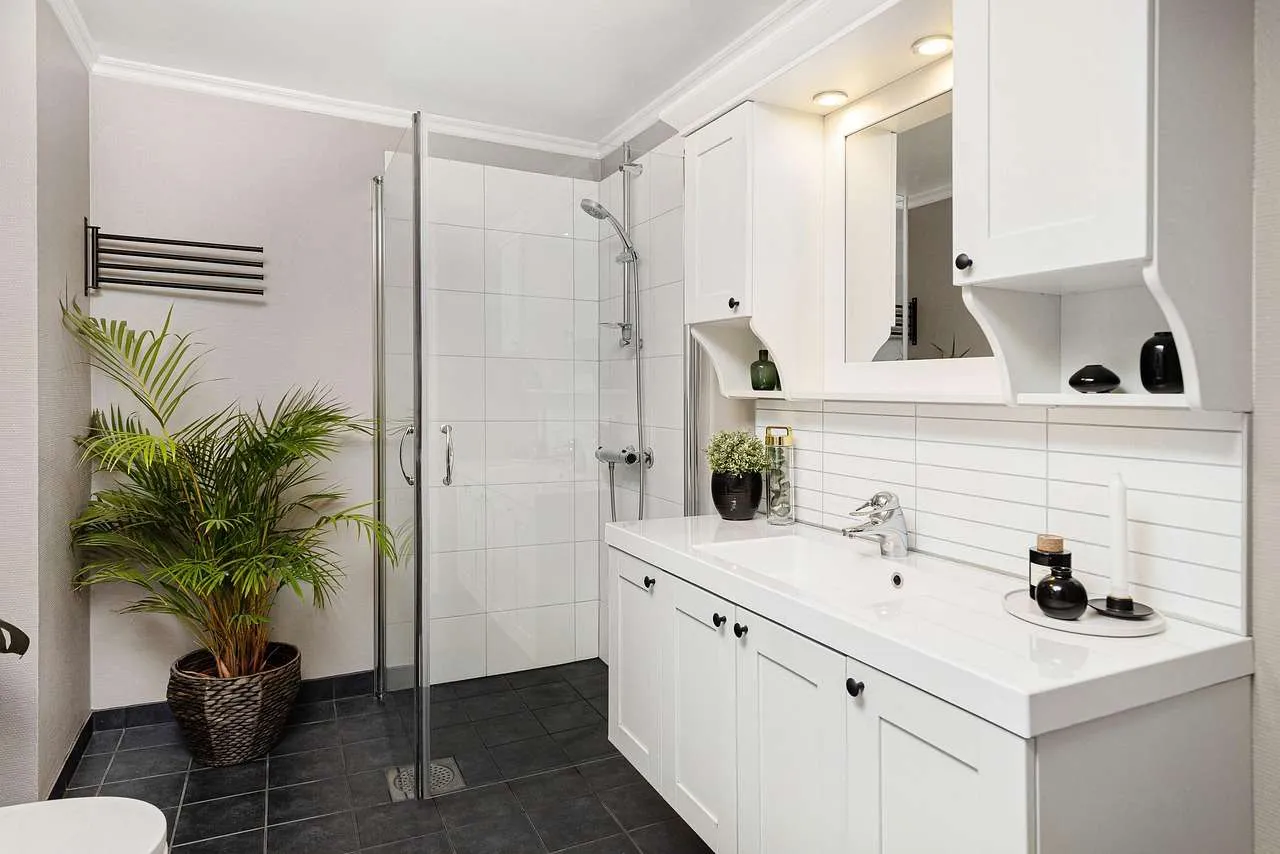
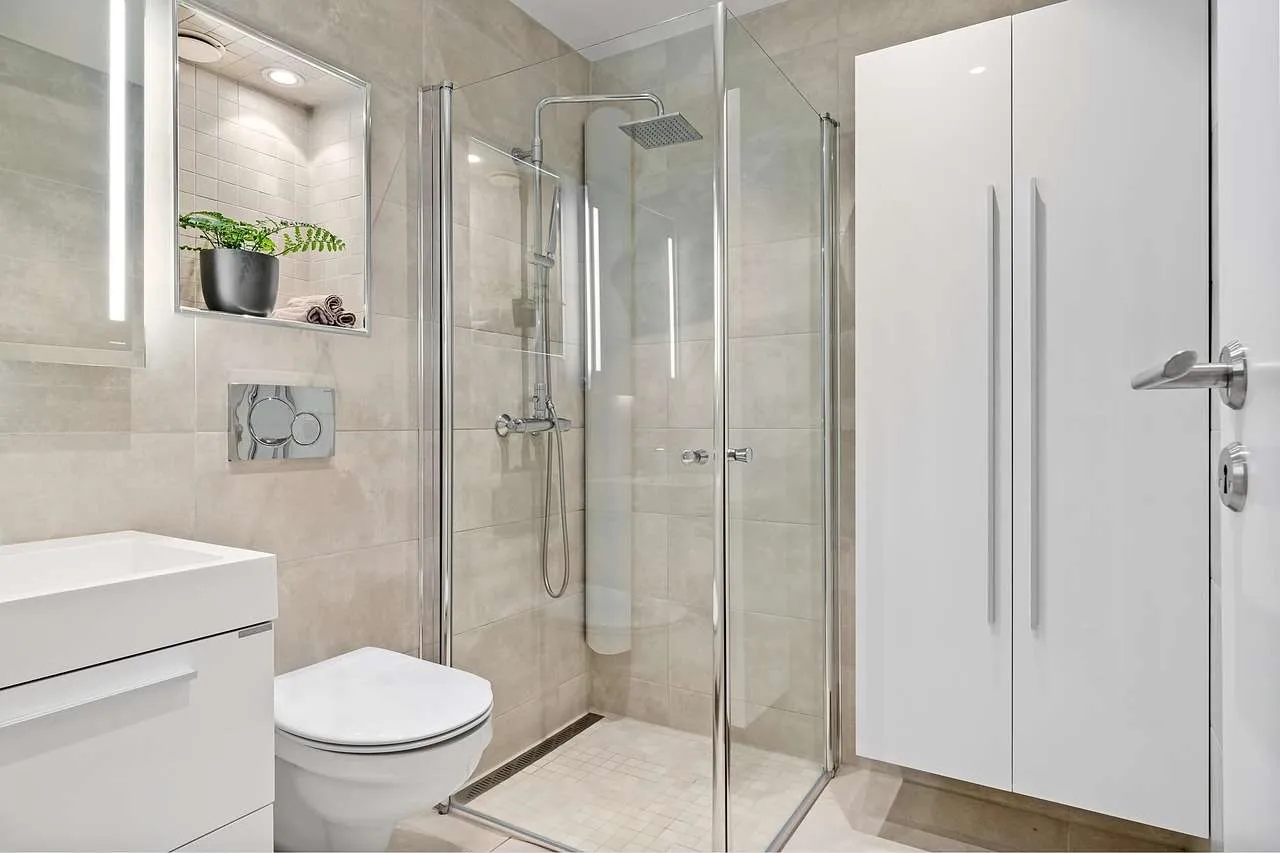
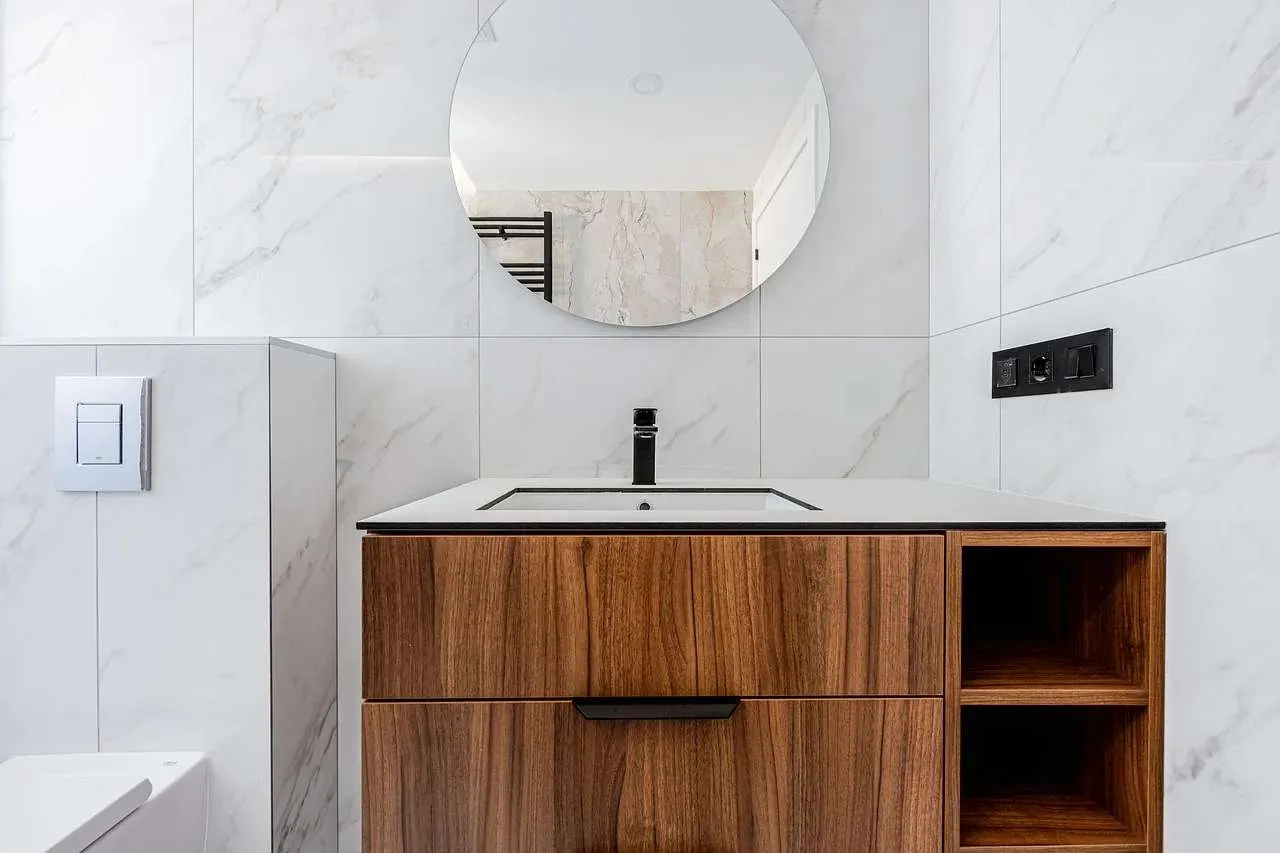
Tile options fall along a spectrum of performance and price. Porcelain tile is a dense, low-porosity option ideal for floors and showers due to its superior water resistance and durability. Ceramic tile is a lighter, more affordable choice suitable for walls and low-traffic areas. Natural stone—such as marble, travertine, or slate—adds luxury but requires sealing and maintenance to prevent staining and etching. Glass tiles create reflective, moisture-resistant accents but can be slippery in wet areas if used alone. For many bathrooms, a porcelain or ceramic base with glass or stone accents balances durability and visual interest.
Porcelain vs ceramic tiles
Porcelain tiles are typically denser with very low water absorption, making them excellent for shower floors and exterior use. Ceramic tiles are lighter, easier to cut, and cost less, but they may be more prone to chipping in high-traffic areas. Both can be installed on walls and floors, but porcelains often perform better in wet zones. When selecting, check the water absorption rate (less than 0.5% for porcelain is common) and the Mohs hardness rating for longevity.
Sizes, patterns, and layout ideas
Tile size influences visual space and maintenance. Large-format tiles (such as 12x24 inches or bigger) minimize grout lines and can make a small bathroom feel larger, while mosaics and small formats offer grip and detail for showers and backsplashes. Patterns like herringbone, chevron, and vertical stacks add energy or height, depending on how they’re used. For showers, many designers pair a basic wall tile with a contrasting accent band or a glass mosaic to create a focal point without overwhelming the space.
Substrates, waterproofing, and installation basics
Proper prep is essential for a durable tile installation. Floors in wet areas usually require a cement backer board and a waterproof membrane beneath the tile. In showers, a dedicated waterproofing system and appropriate slope are crucial. Use a quality thinset mortar compatible with the tile material, and select grout that suits moisture exposure. For natural stone or certain porcelains, consider a penetrating sealant or impregnating sealer to protect against stains and efflorescence. If you’re unsure about waterproofing or complex layouts, consult a licensed professional to ensure code compliance and a long-lasting result.
Grout, sealants, and maintenance
Grout choice affects cleaning and longevity. Cement-based grout is common and easy to work with but can stain; epoxy grout resists stains and chemicals but is harder to install. Sealing natural stone and unglazed tiles helps prevent moisture intrusion and staining—most stone requires resealing every 1–3 years, depending on use. Regular cleaning with pH-balanced cleaners and a soft brush preserves grout color and tile finish. Avoid acidic or abrasive products that can dull or etch surfaces, especially on natural stone or polished ceramics.
Cost, budgeting, and the value of professional help
Budgeting for bathroom tile involves material cost, labor, waterproofing, and potential waterproofing membrane installation. Material costs vary widely by type: porcelain and ceramic tend to be more affordable, while natural stone and premium glass tiles command higher prices. Labor costs reflect complexity, layout, and waterproofing needs. Simple installations may be DIY-friendly, but showers and large-format patterns often benefit from professional installation to ensure a watertight, code-compliant result.
Quick comparison of common tile options
| Tile Type | Water Absorption | Durability | Slip Resistance | Maintenance | Cost |
|---|---|---|---|---|---|
| Porcelain | Very low | High | Moderate to high (depends on glaze) | Low | Moderate to high |
| Ceramic | Low to moderate | Medium | Moderate | Low | Low to moderate |
| Natural Stone | Variable; generally higher | High, but can etch | Variable; sealers help | Higher maintenance | High |
| Glass | 0 | Medium | Depends on surface | Low | High |
Choosing tile for your space
Style begins with color and finish. Light, neutral tones brighten small bathrooms, while dark or bold tones create drama in larger spaces. Consider your lighting—natural light can make cool-toned tiles feel crisper, while warm lighting enhances beige and cream palettes. For wet zones, prioritize slip resistance and a non-porous surface. If you’re unsure, start with a neutral porcelain tile for walls and floors and add visual interest with a glass or stone accent band or a decorative mosaic near the vanity or shower niche.
Planning and measuring
Accurate measurement saves time and materials. Measure the length and width of each wall and multiply to determine square footage. Add 10–15% extra for cuts and waste, and an additional 5–10% for complex shower niches or curved settings. Inventory the tiles for consistent color and lot numbers. Decide on grout color early, as it can dramatically alter the final look. In showers or wet areas, allocate extra material for waterproofing details and potential miscuts.
To ensure a successful result, align tile selection with maintenance tolerance, budget, and the bathroom’s overall design. Consulting with a tile installer or interior designer can help translate ideas into a practical layout that meets building codes and performance needs.
Conclusion, a well-chosen bathroom tile plan blends durability, style, and ease of care. By understanding material properties, layout options, and maintenance requirements, you can create a timeless bathroom that remains both beautiful and functional for years to come.